 LON-CAPA HelpLON-CAPA Help
After creating a new .sequence resource and getting the editor selection
prompt ( ), click the Advanced
Edit button to get to the advanced map editor.
), click the Advanced
Edit button to get to the advanced map editor.
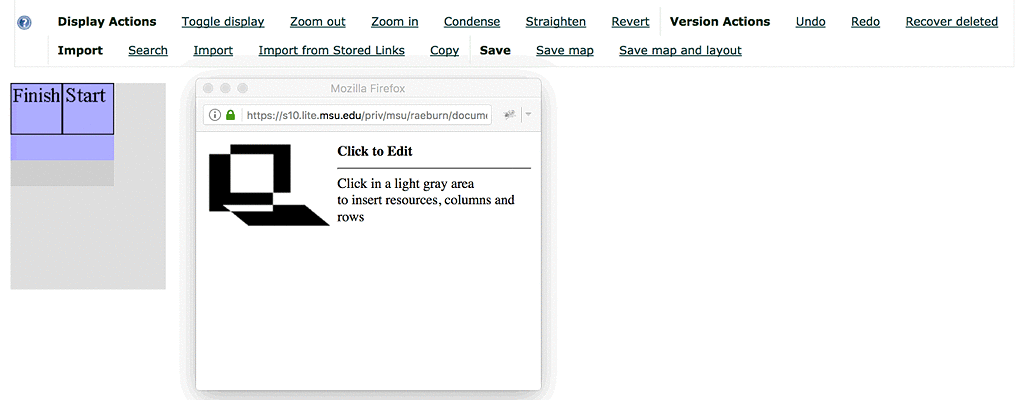
You should see the initial map editor as shown in the "Initial Map Editor" figure. Note there are two windows: One is the workspace and one is a secondary window which will contain information as you add resources.
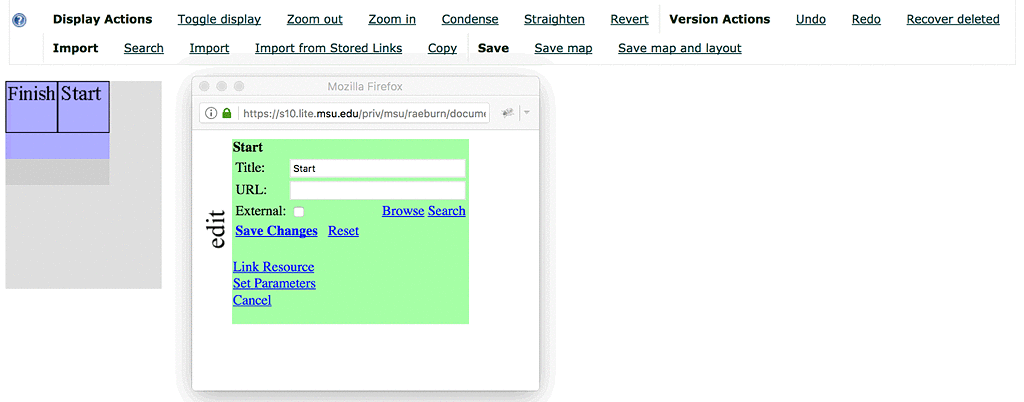
Click the Start box. You'll see what is shown in the "After clicking Start in the Map Constructor" figure. Click Link Resource in the secondary window then click on the Finish box.

After that, click Straighten. You should see something looking like the "Straightened Map" figure. This creates a simple map that flows from beginning to end.
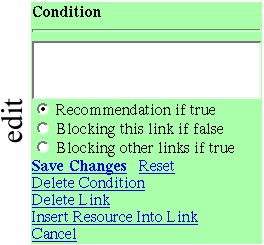
To insert a resource into the flow, click the black line with two arrows, seen between the Start and Finish boxes in the "Straightened Map" figure. In the secondary window, you will see something like the "Inserting a Resource" figure. Click Insert Resource Into Link. A new resource box will appear in the link. Click the resource, which will have the label Res.
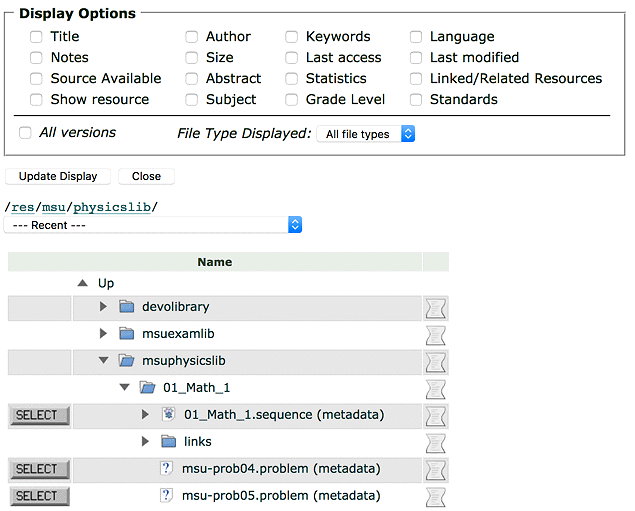
as shown in the "Network Directory Browser" figure. Press the SELECT button that is next to the resource you want to place in the chosen resource box.

Once you've done that, if you look back at the window that popped up when
you clicked on New Resource, you'll see something like the
"Resource Chosen" figure.
You can type the URL and Title into the secondary window
if you prefer, following the format you see when you've successfully browsed
to a resource. After you click Save Changes, your changes will be
set and the icons for the resource will appear in the Res box,
as shown in figure . Click Save
Map in the bar above your map to save the map.
Clicking on the left icon for a resource will open a new browser window with an informational page about that resource. Clicking on the right icon for a resource will open a new browser window and take you to the rendering of that resource.
The Advanced Editor has many more capabilities which you can explore.